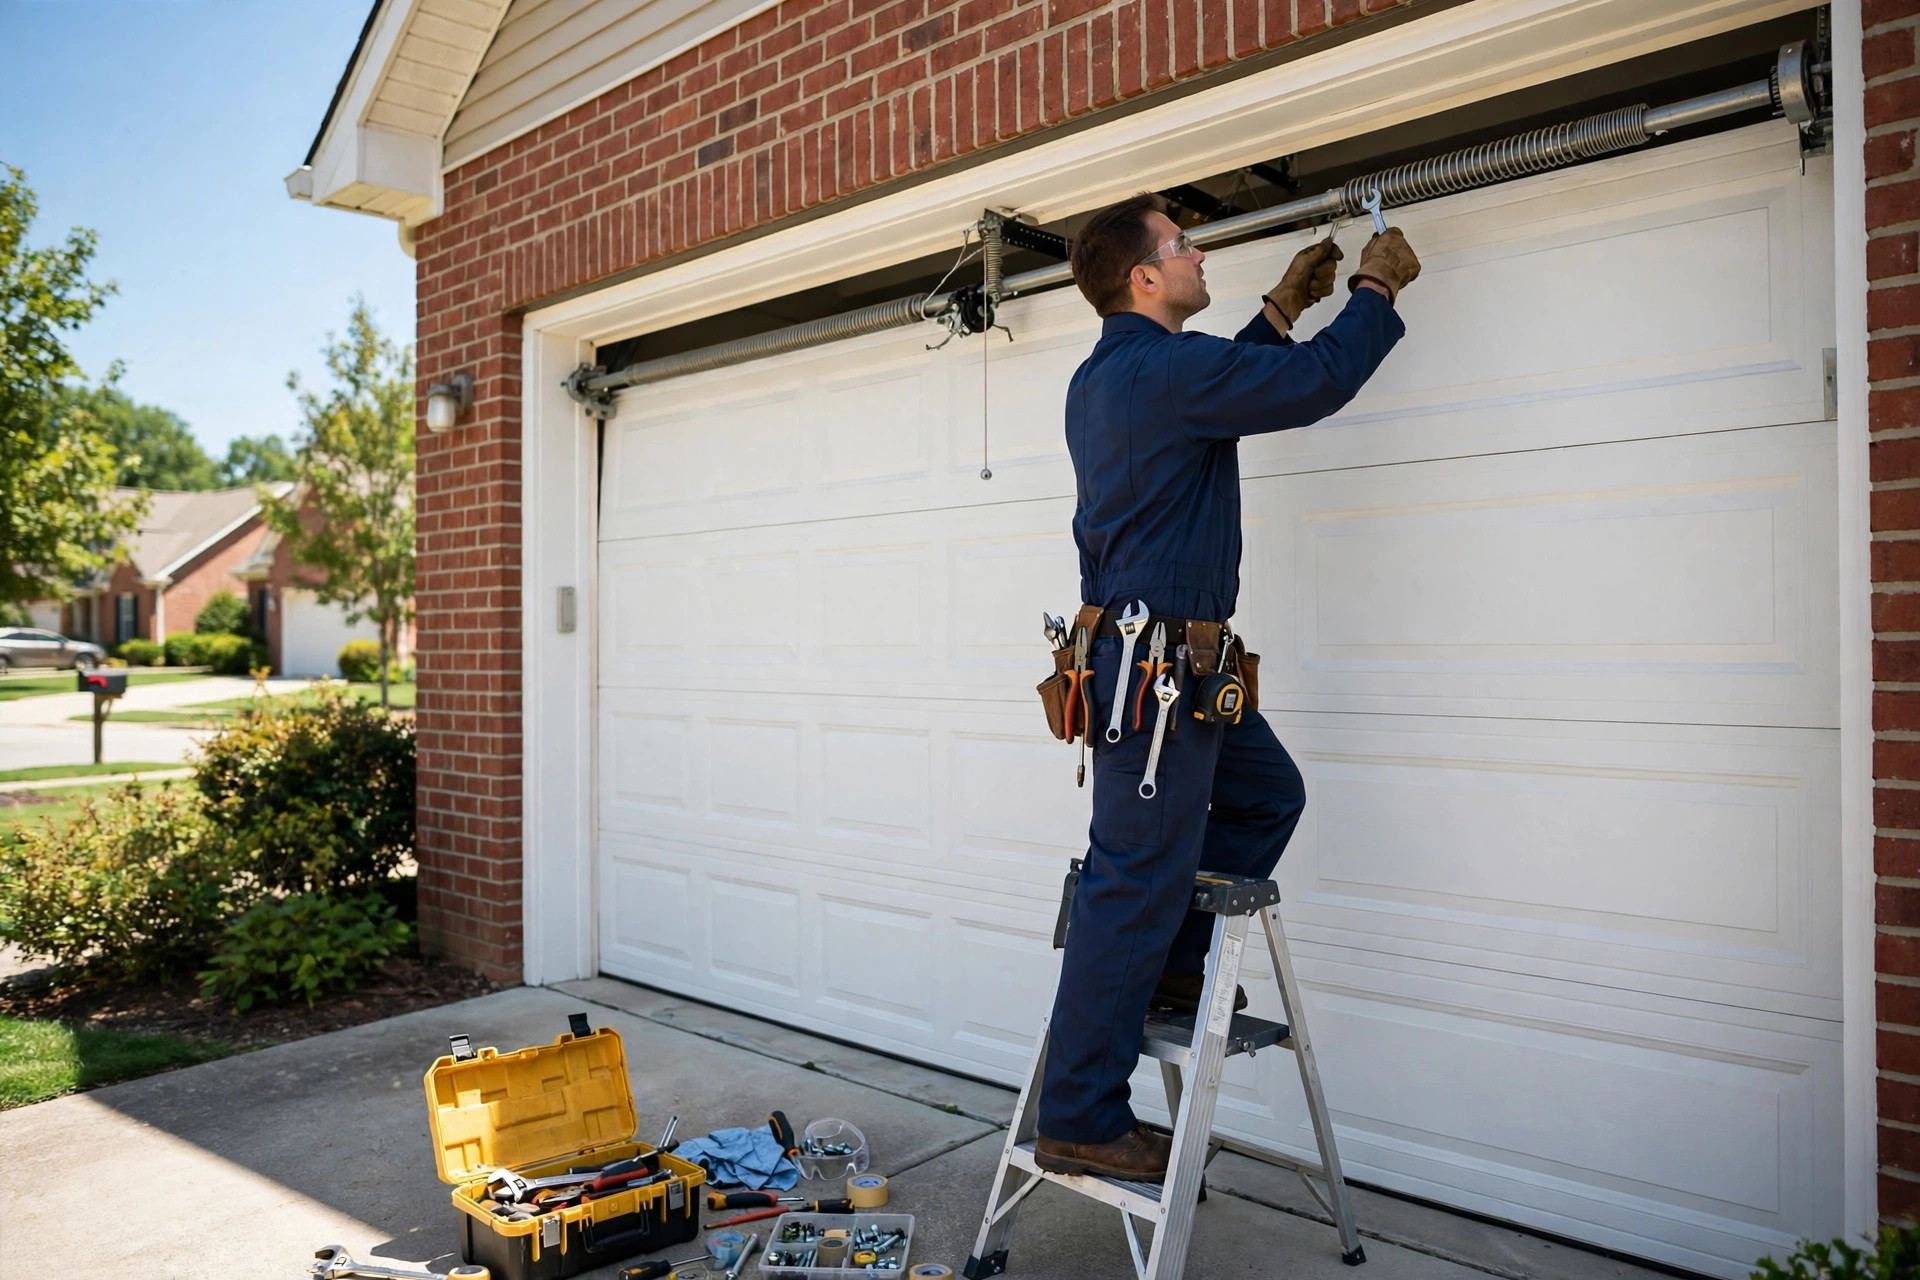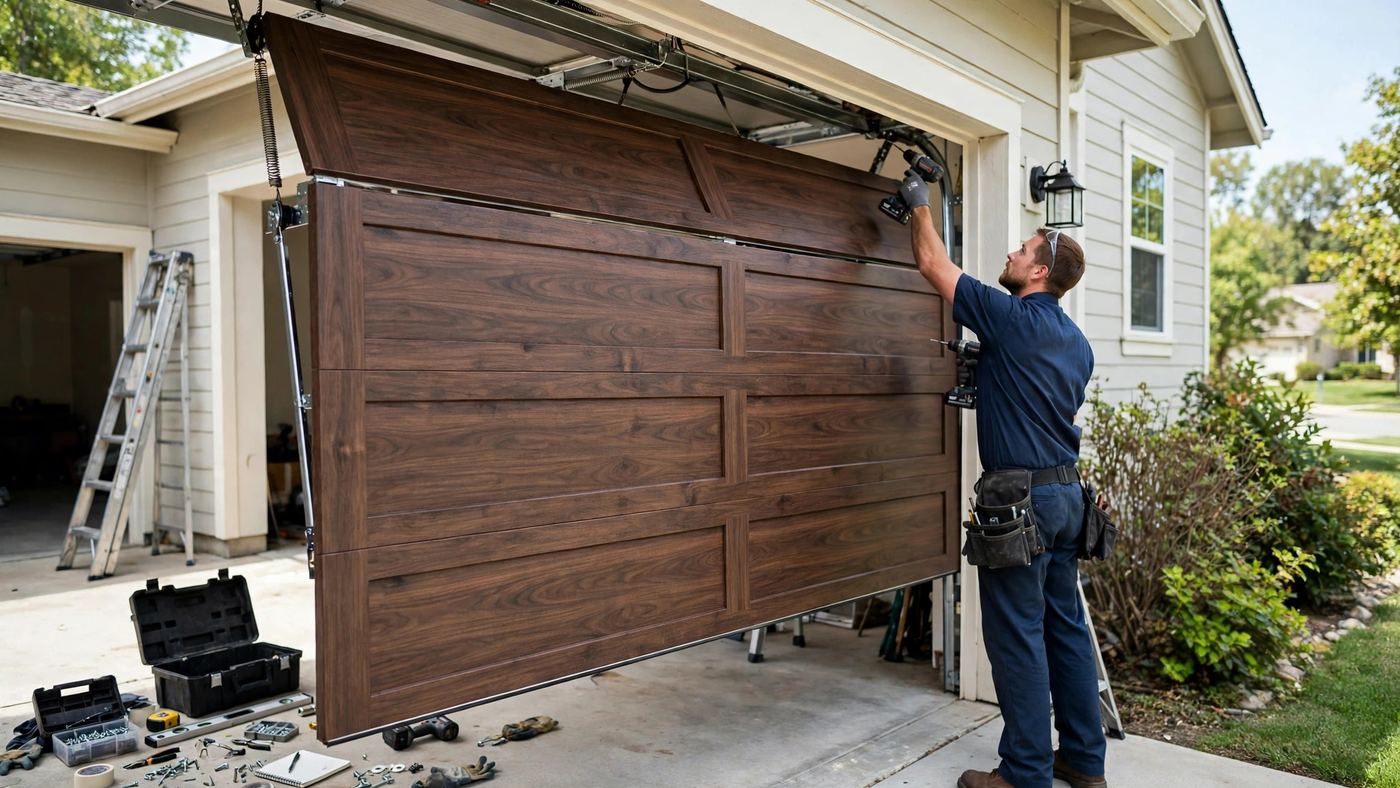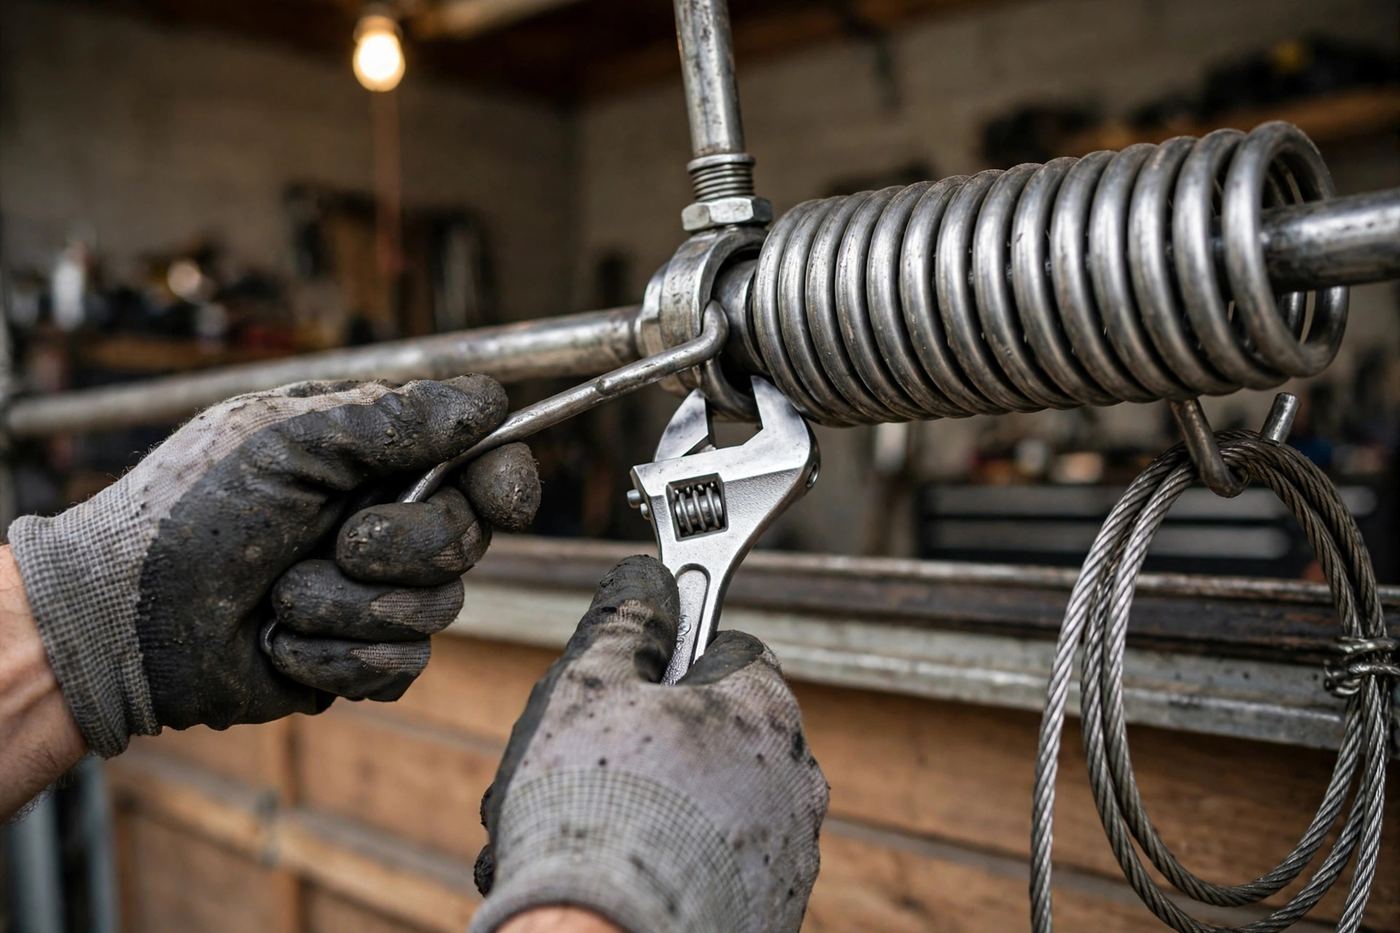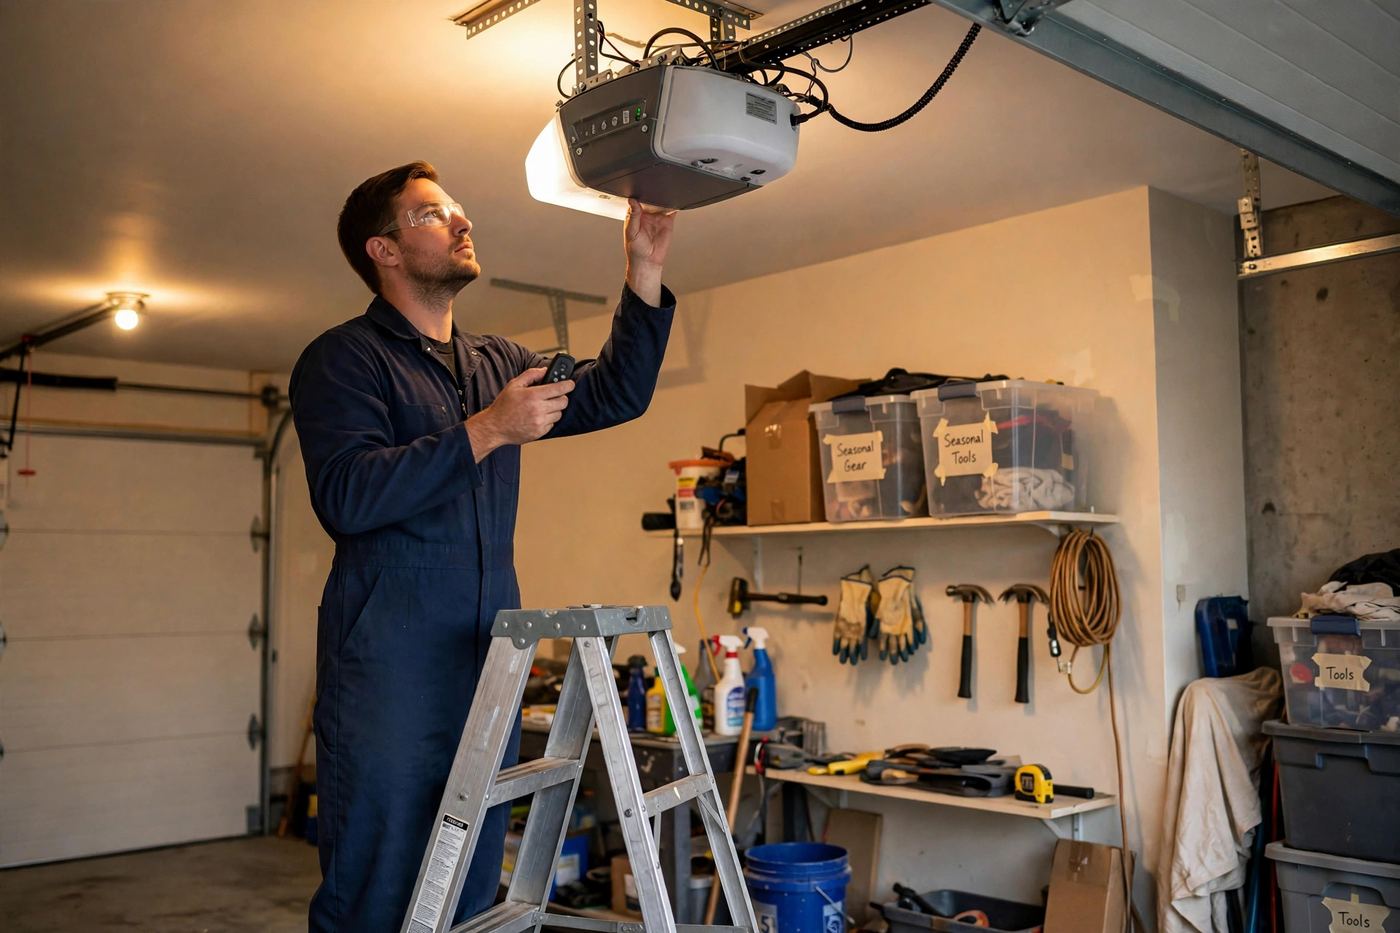
This guide walks through the three tests — photo-eye, contact-reverse and balance — with exact pass/fail criteria, plus the manual-release check most owners have never run. It also prices what each failure costs to fix, because a failed test isn't a catastrophe: it's a diagnosis, and most of them end in adjustments or a sensor replacement at $85-$200.
In This Guide
- Why These Tests Exist: Two Layers, Two Jobs
- Test 1: The Photo-Eye Reversal Test
- Test 2: The Contact-Reverse (2x4) Test
- Test 3: The Balance Test — the Springs' Report Card
- The Release-Cord Check and the Monthly Routine
- What a Failed Test Costs: The Full Price List
- Kids, Pets and the Honest Limits of the Sensors
- Teaching the Household: The Two-Minute Safety Briefing
Key Takeaways
- The two protection systems guard different moments.
- Run it exactly like this.
- Lay a standard 2x4 flat — wide side down — on the floor at the center of the doorway, directly in the door's path.
- The balance test checks the counterbalance system the other two tests depend on.
- The fourth check is the one that matters in a power outage: the manual release itself.
- Most failed tests end cheaply.
- Understand precisely what the systems do, so the household rules match reality.
- The best test routine fails if only one person in the house knows it.
How to use this guide: work the checks in the order given — they're sequenced from the most common and cheapest causes to the rarest and most involved, which is exactly how a technician's diagnosis proceeds. Stop at the step that solves it, and stop entirely at anything involving springs, cables or a door that's crooked or off its tracks: those are professional jobs, and this guide will tell you plainly when you've reached one. If you reach the end without a fix, call (210) 964-8892 and tell the dispatcher which steps you completed — you'll skip half the diagnosis and get the right parts on the first truck.
Why These Tests Exist: Two Layers, Two Jobs
The two protection systems guard different moments. The photo-eye sensors — the small units near the floor on either side of the opening, one sending an infrared beam, one receiving it — protect the doorway plane: a child, a pet, a bicycle crossing while the door descends breaks the beam and the door must reverse. The contact-reverse system protects the closing edge itself: if the descending door meets resistance — a shoulder, a toy, a pet that didn't cross the beam — the opener must sense the force and reverse within about two seconds.
Neither layer substitutes for the other. The beam sits four to six inches above the floor; an object can be under the door without breaking it. The contact system reacts only after touch. Together they cover the doorway and the edge — provided both work. Age, misalignment, sun-blindness, dirty lenses, force settings adjusted by guesswork, and simple component fatigue all degrade them without announcing themselves. That's the entire case for the monthly test: the systems are silent in failure, so the test has to be scheduled, not prompted.
Test 1: The Photo-Eye Reversal Test
Run it exactly like this. Open the door fully. Start it closing with the remote or wall button, then immediately wave a long object — a broom, a box, your arm at a safe distance from the door's path — through the beam near the floor. Pass criteria: the door reverses instantly, traveling back up, and the opener light typically flashes. Fail criteria: the door continues down, hesitates, or doesn't respond to the beam break at all.
If it fails, the diagnostic order is short. Check both sensor indicator lights: the sending eye glows steady; the receiving eye glows when the beam is unbroken and should flicker out as you break it. Clean both lenses with a soft cloth. Confirm neither bracket is knocked askew — they pivot on wing nuts and get bumped by trash cans and tires. Watch for the sun pattern: a receiving eye blinded by direct low sunlight fails at the same hour daily and passes at night. If the eyes are clean, aligned and steady-lit and the door still doesn't reverse on a beam break, the fault has moved to wiring or the opener's board — that's a service call, and until it's fixed, treat the door as unguarded: never let it close unwatched.
Test 2: The Contact-Reverse (2x4) Test
Lay a standard 2x4 flat — wide side down — on the floor at the center of the doorway, directly in the door's path. Close the door from the remote. Pass criteria: the moment the door's bottom edge contacts the wood, it reverses, within roughly two seconds, and travels back up. Fail criteria: the door presses into the wood and keeps pushing, stalls against it, or reverses only after a long strain. A door that fails this test can pin a child or a pet with real force — it is not safe until adjusted.
What you're allowed to adjust yourself: nothing, on most modern openers, beyond consulting the manual's force-setting procedure and following it exactly, in small steps, retesting after each. Force settings are not a volume knob for a stiff door — if a door has grown heavy or binds, raising force to bully it through masks a spring or track problem and teaches the opener to push through obstructions. If the 2x4 test fails after the manual's procedure (or the manual's procedure isn't documented for your model), the adjustment is a professional visit — and it's among the most important ones on this page. Note the result and the date somewhere durable; a passing streak that turns into a failure is itself diagnostic information.
Test 3: The Balance Test — the Springs' Report Card
The balance test checks the counterbalance system the other two tests depend on. With the door closed, pull the red emergency release cord to disconnect the opener. Lift the door by hand to about halfway and let go gently. Pass: the door stays roughly where you left it, or drifts only slightly. Fail: it slams down (springs weak, broken or undersized) or shoots upward (springs over-tensioned or mismatched). Then lift it fully and lower it: the door should move smoothly with manageable effort throughout — a balanced door feels like a few dozen pounds, not its true 150-400.
Re-engage the opener per your manual (usually: pull the cord toward the door or simply run the opener until the trolley clicks back in). A failed balance test is a spring diagnosis, full stop: springs are professional-only parts, and a door that fails balance also invalidates the opener's force assumptions — the contact-reverse test's 'resistance' means something different on a door that's secretly 100 pounds heavy. If your door slams, don't keep cycling it under power: the opener is now lifting weight it wasn't designed for, and its gear is the next failure in the chain. Spring replacement is $120-$350 — the gear-and-board bill for ignoring it is how a spring job becomes an opener job too.
The Release-Cord Check and the Monthly Routine
The fourth check is the one that matters in a power outage: the manual release itself. Pull the red cord with the door closed — the opener should disconnect with a click. Lift the door partway by hand (if it passed the balance test, this is easy), lower it, and re-engage. If the cord is missing, frayed, or the release doesn't disconnect, you have a quiet defect that announces itself at the worst possible time: mid-outage, car trapped. Cord and release repairs are minor items on a service visit — but only if the visit happens before the outage does.
Assemble the routine: once a month, five minutes — photo-eye test, 2x4 test, a look at cables and springs from a respectful distance, and a listen to one full cycle. Once a season, add the balance test and the release check. Write the dates on a card taped inside the garage door's frame or in the opener's manual; the log is what converts five minutes into a maintenance history. And involve the household: everyone who uses the door should know that a failed test means the door gets watched while it closes and a call gets made — not that someone tapes over the sensor 'for now.' A defeated safety system is worse than a failed one, because it fails silently while looking fixed.
What a Failed Test Costs: The Full Price List
Most failed tests end cheaply. A photo-eye failure resolves with cleaning or realignment in a large share of cases (often folded into a service call), and out-and-out sensor replacement runs $85-$200 installed with alignment and testing. Wiring faults between sensor and opener sit in the same visit's scope. A logic board that no longer honors the safety circuit runs $150-$300 — and at that point, on an opener past 12-15 years, the repair-or-replace comparison deserves a hearing, because the board money is a substantial fraction of a new unit.
A failed balance test prices as a spring job: $120-$350, usually same-day. A failed contact-reverse test resolves as an adjustment on most modern openers when the door itself is healthy — the expensive version is the one where 'adjustment' was masking a heavy door, which is why the tests are run as a set: their results interpret each other. No failure on this page justifies defeating a safety device 'temporarily.' A door with a known safety failure gets watched while it closes and fixed on the next available appointment — in that order, without exception.
Kids, Pets and the Honest Limits of the Sensors
Understand precisely what the systems do, so the household rules match reality. The photo-eye beam guards a line four to six inches above the floor across the opening — it sees what crosses that plane at that height. It does not see a toddler sitting just inside the doorway below the beam's edge cases, a tail hanging off a truck bed at bumper height, or anything already inside the plane when the door starts. The contact reverse is the second layer, and it reacts after touch — gently by design, but after.
So the household rules stay human: the closing door gets a watching adult; children never play with remotes or wall buttons; nobody races a closing door, ever, including adults who 'know the timing.' And teach the sound rule — a door that bangs, grinds or strains gets reported the same day — plus the two sights: a hanging cable or a gapped spring coil means the door is parked until a professional clears it. The tests in this guide verify the machine's half of the safety system. The household's half is these five minutes of shared knowledge.
Teaching the Household: The Two-Minute Safety Briefing
The best test routine fails if only one person in the house knows it. The household rules are short and worth a two-minute family briefing: the door is never a toy — no riding it, no racing under it while it closes, no hanging on it. Remotes are not toys either; a remote pressed for fun operates a several-hundred-pound machine blind. The closing door gets a watching adult, sensors or no sensors, because the systems guard a beam and an edge — not a room.
Teach the sound rule alongside: anyone who hears the door bang, grind or strain reports it the same day, the way you'd report a strange smell. And teach the two sights: a cable hanging loose or a gap in the spring coil means the door is parked until a professional says otherwise — no 'one more cycle to get the car out' exceptions, because that cycle is the one that drops doors. Kids old enough to use the door are old enough for this briefing, and it takes less time than the school run.
For new drivers in the house, add the driveway rule: the door isn't fully up until it's fully up — a surprising share of panel damage is a bumper meeting a door still traveling. Panels cost $250-$800; patience costs four seconds. Safety culture in a garage is not a poster; it's these three small teachings, repeated until they're reflexes — and refreshed every time the monthly test puts the whole household's attention on the door for five minutes anyway.
Safety Tests at a Glance
| Item | Cost / Rating | Notes |
|---|---|---|
| Photo-eye reversal | Monthly | Wave an object through the beam as the door closes; must reverse instantly |
| Contact reverse (2x4) | Monthly | Door touches the flat 2x4 and reverses within ~2 seconds |
| Balance test | Seasonal | Released at halfway, the door hovers; smooth manual travel |
| Manual release check | Seasonal | Cord disconnects cleanly; door lifts by hand; re-engages |
| Cable & spring visual | Monthly | No fraying, rust bleed, loose cable or coil gap (look, never touch) |
Frequently Asked Questions
How often should I test my garage door's safety systems?
The photo-eye and contact-reverse tests belong in a monthly five-minute routine; the balance test and manual-release check once a season. Manufacturers and safety organizations recommend the monthly cadence because both protection systems can fail silently — the door works normally while no longer protecting anyone.
How do I test the auto-reverse with a 2x4?
Lay a 2x4 flat, wide side down, in the center of the doorway. Close the door with the remote. A passing door touches the wood and reverses within about two seconds. If it presses and keeps pushing, the contact-reverse system needs professional adjustment — don't rely on the door around kids and pets until it's fixed.
My door failed the photo-eye test. What does the fix cost?
If cleaning and realigning the sensor eyes doesn't restore it, sensor replacement runs $85-$200 installed, including alignment and testing. If the eyes test fine, the fault is in the wiring or the opener's logic board ($150-$300). Until it's fixed, never let the door close unwatched.
What does it mean if my door slams down during the balance test?
The springs are weak, broken or wrong for the door's weight — the counterbalance is gone and the opener has been lifting 150-400 pounds it wasn't designed to move. Stop cycling the door under power (you'll save the opener's gear) and book spring service: $120-$350, usually same-day.
Can I adjust the opener's force settings myself?
Only by following your manual's exact procedure, in small steps, retesting after each change. Never use force settings to bully a stiff or heavy door into moving — that masks a spring or track problem and teaches the opener to push through real obstructions. If the manual's procedure doesn't restore a passing 2x4 test, it's a professional adjustment.
Are garage door safety sensors really required?
Yes — since 1993, federal rules have required residential openers to have an entrapment-protection system, and the photo-eye has been the standard implementation. An opener that predates the requirement lacks the system entirely, which is one of the strongest arguments for replacing a pre-1993 unit regardless of how well it still runs.
Related Services
Garage Door Opener Repair
Opener hums, clicks or runs but the door won't move? We repair motors, gears, belts, boards and sensors for all major brands.
Learn more about garage door opener repair →Garage Door Maintenance & Tune-Up
A full tune-up: balance test, lubrication, hardware tightening, sensor and safety checks — the cheapest way to avoid a breakdown.
Learn more about garage door maintenance & tune-up →Garage Door Repair
Complete diagnosis and repair for doors that won't open, close, balance or seal — most repairs finished in a single visit.
Learn more about garage door repair →← All garage door guides · Costs & pricing hub
Garage Door Stuck? We Can Fix It Today.
Same-day appointments and 24/7 emergency service across all 50 of our service cities. Upfront price before work starts — no surprises on the invoice.
(210) 964-8892 ☎ Call Now — Open 24/7