This guide walks the full household set in the order a technician teaches them on an installation visit: the Learn button itself and what its color tells you, handheld remotes, the wireless keypad (including the guest PIN most owners never use), in-car systems like HomeLink, and Wi-Fi app control. It ends with the reset that matters most — erasing every device at once — because a lost remote or a move-in is exactly when programming stops being a convenience topic and becomes a security one. All you need is a step stool and the devices themselves.
In This Guide
- The Learn Button: Find It, Read Its Color
- Program a Handheld Remote, Step by Step
- Program the Keypad and Set a Guest PIN
- Program Your Car: HomeLink and Built-In Buttons
- Program the App: Wi-Fi and Smartphone Control
- Erase Everything: The Lost-Remote and Move-In Reset
- When Programming Won't Take: Five Causes, in the Order to Check Them
- Programming Day: The Fifteen-Minute Full-House Routine
Key Takeaways
- Every programming sequence starts at the motor unit hanging from your garage ceiling.
- With a matched remote in hand, the sequence is four moves.
- The wireless keypad on the frame learns with the same conversation, spoken in numbers.
- Most cars built in the last two decades carry the remote in the visor, mirror or overhead console — HomeLink on most brands, Car2U on some Fords and Lincolns.
- App control — Chamberlain's myQ, Genie's Aladdin Connect, and their peers — programs differently: instead of learning a radio code, the opener joins your home Wi-Fi and the app becomes a control that works from anywhere.
- There is one programming job that is really a security job, and it starts with the command from the first section used deliberately: press and hold the Learn button for roughly six seconds, until the LED goes out, and the opener forgets every device it has ever learned.
- First, generation mismatch — the remote and the opener speak different radio languages (390 vs 315 MHz, fixed code vs rolling code).
- Technicians teach a household's devices in one pass on installation day, and the routine is worth copying after any erase, move-in or opener replacement.
How to use this guide: work the checks in the order given — they're sequenced from the most common and cheapest causes to the rarest and most involved, which is exactly how a technician's diagnosis proceeds. Stop at the step that solves it, and stop entirely at anything involving springs, cables or a door that's crooked or off its tracks: those are professional jobs, and this guide will tell you plainly when you've reached one. If you reach the end without a fix, call (210) 964-8892 and tell the dispatcher which steps you completed — you'll skip half the diagnosis and get the right parts on the first truck.
The Learn Button: Find It, Read Its Color
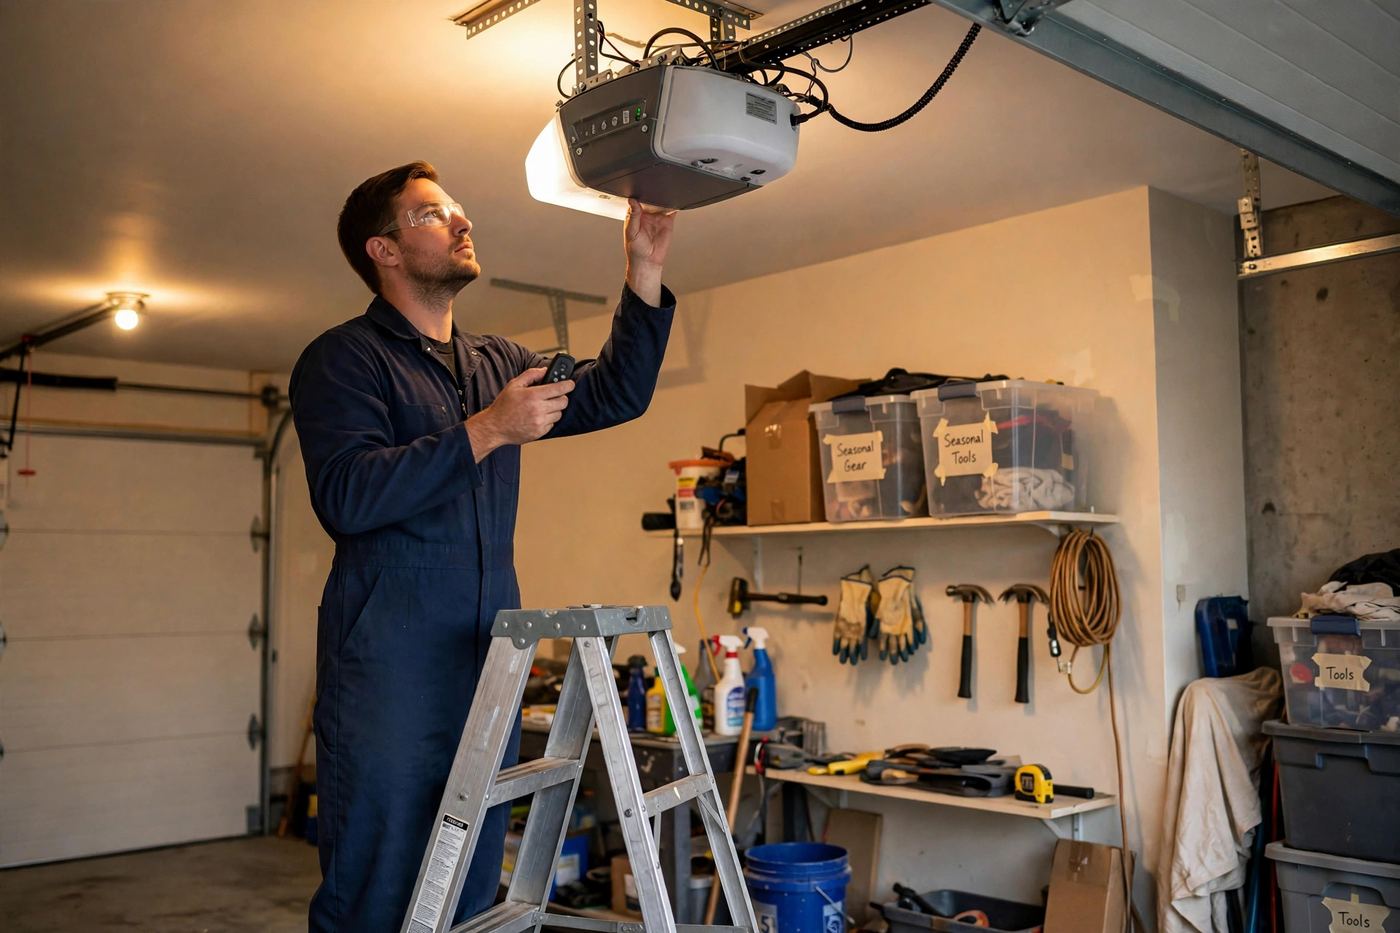
Every programming sequence starts at the motor unit hanging from your garage ceiling. The Learn button sits on the back or side panel, sometimes under the light cover — a small square button beside a small LED. You do not need to unplug anything or open the unit; if the cover is in the way it hinges or pops off by hand. Stand where you can reach the button and see the LED at the same time, because the LED is how the opener talks back: it lights when learning mode opens, and it goes out when memory is erased.
The button's color is the opener's fingerprint, and it decides which remotes can ever pair with it. On the LiftMaster/Chamberlain/Craftsman family: yellow means Security+ 2.0 (2011 and later), purple means 315 MHz Security+ (roughly 2005-2010), red or orange means 390 MHz Security+ (1997-2005), and green marks the older 390 MHz Billion Code generation. Genie units use a black Learn button with Intellicode printed beside it. The practical rule: a remote must match the opener's generation and frequency, or no sequence of presses will ever teach it — which is why the color check comes before any button pressing, and why a spare remote bought by guessing is the most returned item in the industry.
Program a Handheld Remote, Step by Step
With a matched remote in hand, the sequence is four moves. One: press and release the Learn button once — do not hold it. The LED lights and a thirty-second window opens. Two: within that window, press and hold the remote button you want to assign for about three seconds. Three: watch the opener — its light blinks, or you hear two clicks — which is the confirmation that the code was accepted. Four: release, step down, and test the button from the driveway. The whole exchange takes less time than reading this paragraph.
Multi-button remotes repeat the same sequence once per door, choosing a different button each time. Two traps account for most failures. The first is holding the Learn button instead of tapping it: a long hold — about six seconds — is the erase command, and it wipes every device the opener knows (that command has its own section below; used by accident, it explains the classic 'I programmed the new remote and now nothing works'). The second is an aging remote battery that lights the remote's own LED but transmits too weakly to teach — if a known-good remote pairs and the new one will not, swap the battery before suspecting the opener.
Program the Keypad and Set a Guest PIN
The wireless keypad on the frame learns with the same conversation, spoken in numbers. Press and release the Learn button, then — within thirty seconds — walk to the keypad, type the four-digit PIN you want, and press and hold Enter until the opener's light blinks or clicks. Test it twice: once to open, once to close. If the pad was previously paired to another opener or another code, most keypads also accept a direct reset at the pad itself; the keypad guide on this site works through keypad faults in depth — batteries, weather, worn membranes — when a pad will not respond at all.
The feature most households never enable is the temporary PIN. Many keypads let the master code authorize a guest code that works for a set number of hours or a set number of openings, then expires by itself — built for the sitter, the cleaner, the contractor, the delivery you actually want inside the garage. The exact keystrokes vary by brand, but the pattern is consistent: enter the master PIN, press the key the manual marks for programming, enter the temporary PIN and its limit, and confirm. Set it the day the guest arrives; let it die on its own afterward. The master code itself should change whenever the household changes — it is a key, and it deserves a key's discipline.
Program Your Car: HomeLink and Built-In Buttons
Most cars built in the last two decades carry the remote in the visor, mirror or overhead console — HomeLink on most brands, Car2U on some Fords and Lincolns. Teaching the car is a two-stage job, and skipping the second stage is why so many built-in buttons 'never worked'. Stage one trains the car from a working handheld remote: clear the car's memory first if it was ever used (hold the two outer buttons until the indicator flashes rapidly, about twenty seconds), then hold the chosen car button and your remote's button together, remote a few inches from the console, until the indicator changes from slow blink to rapid flash.
Stage two is the rolling-code handshake at the opener, and it is not optional on any opener made since the late 1990s: press the Learn button once, return to the car within thirty seconds, and press the trained car button firmly for two seconds — most systems need that press repeated two or three times before the door moves. If your car is much newer than your opener (or the reverse), a small compatibility bridge exists for exactly that pairing; but in our experience the overwhelming majority of 'incompatible' cars were simply never taken through stage two. Finish by testing from the street: the car should open the door from the same distance the handheld remote manages.
Program the App: Wi-Fi and Smartphone Control
App control — Chamberlain's myQ, Genie's Aladdin Connect, and their peers — programs differently: instead of learning a radio code, the opener joins your home Wi-Fi and the app becomes a control that works from anywhere. On a Wi-Fi-built-in opener, setup is: install the app, create the account, put the opener into Wi-Fi learn mode (on many units, press the Learn button twice or use the wall control's menu), join the opener's temporary network from your phone, and hand it your home Wi-Fi credentials. Two minutes later the door appears in the app, and you can add family members as users instead of handing out more remotes.
Older openers are not excluded: a smart hub add-on ($75-$150) mounts near the opener, speaks its radio language on one side and Wi-Fi on the other, and works with most openers made since 1993 that have working safety sensors. Whichever route you take, enable the two features that justify the whole exercise: an alert whenever the door opens or closes, and a scheduled auto-close at night — the setting that retires the 'did I leave it open?' drive-back forever. Guests get app invitations with their own expiry instead of your keypad code, which makes the app the most secure control in this entire guide, not just the most convenient.
Erase Everything: The Lost-Remote and Move-In Reset
There is one programming job that is really a security job, and it starts with the command from the first section used deliberately: press and hold the Learn button for roughly six seconds, until the LED goes out, and the opener forgets every device it has ever learned. Do it the week you move into a home — the previous household's remotes, their sitter's keypad code and their cars' buttons all retire in the same six seconds, with no awkward conversations. Do it the day a remote is lost or a car is sold with its button still trained. And do it whenever a keypad code has circulated further than the family can honestly list.
Then rebuild the household set in one sitting, because partial re-teaching is how orphaned devices survive. Every handheld remote, each car, the keypad on a PIN that has never been used at this address, and the app if the opener supports it — fifteen minutes, tested from the street as you go. Write the date on a strip of tape inside the light cover when you finish; the next owner, or your future self after the next lost remote, will know exactly how old the current set is. No other six-second action in home maintenance buys this much certainty this cheaply.
When Programming Won't Take: Five Causes, in the Order to Check Them
First, generation mismatch — the remote and the opener speak different radio languages (390 vs 315 MHz, fixed code vs rolling code). No procedure fixes it; the remote goes back and the Learn button's color picks the right one. Second, energy: a fading remote battery is the great impersonator, strong enough for the LED, too weak for a clean teach. Third, the wall console's lock (vacation) mode, which silently refuses all radio learning while leaving the wired button working — one guest pressing one button has 'broken' more openers than lightning.
Fourth, a full memory, covered in this guide's questions: the opener accepts nothing new and gives no error, and the erase-and-reteach is the cure. Fifth, interference and hardware: a cheap unshielded LED bulb in the opener can flood the band and shrink every teach to arm's length — swap the bulb before blaming electronics — and if truly no device will learn at any distance with a fresh battery and an open memory, the receiver in the logic board has failed, which is a $150-$300 repair and the one cause on this list that is a technician's job rather than a ladder job. Work the five in order and you will meet your cause within two.
Programming Day: The Fifteen-Minute Full-House Routine
Technicians teach a household's devices in one pass on installation day, and the routine is worth copying after any erase, move-in or opener replacement. Set up once: step stool under the motor unit, every remote in the house collected on the hood of the car, both cars in the driveway, phones in pockets. Erase first if the set's history is anything less than fully known — six seconds — then teach in a fixed order: handheld remotes, keypad on its fresh PIN, car one, car two, app last, testing each device from the street before teaching the next.
Two finishing habits separate a programmed house from a merely working one. Label the multi-button remotes (a paint pen dot or a strip of tape) so guests stop opening the wrong door, and note which car button runs which door — three-car households with two doors generate this confusion weekly. Then put the date on tape inside the light cover and set one calendar entry, a year out, that says 'garage codes': the day you rotate the keypad PIN and confirm every device in the set is still one you can account for. Fifteen minutes now, fifteen minutes a year — that is the entire cost of knowing exactly who can open your garage, and it is the sentence this guide exists to make true.
Programming & Control Reference (2026)
| Item | Cost / Rating | Notes |
|---|---|---|
| Universal replacement remote | $25-$60 | Must match the opener's radio generation — read the Learn button color first |
| Wireless keypad, part only | $35-$75 | Pairs with most openers made since 1993 |
| Smart hub add-on (Wi-Fi control) | $75-$150 | App control for older openers with working safety sensors |
| Programming help inside a service visit | $75-$150 | Full household re-teach, usually folded into a tune-up visit |
| Opener logic board (receiver failed) | $150-$300 | The diagnosis when no control will learn at any distance |
| New opener, every control in the box | $350-$850 | Remotes, keypad and app included; programming done at install |
Frequently Asked Questions
How do I program a new remote to my garage door opener?
Press and release the opener's Learn button once, then within thirty seconds press and hold the button on the new remote for about three seconds. The opener's light blinks or it clicks twice to confirm. Release and test. If nothing confirms, check the two usual causes first: the remote's battery, and whether the remote matches your opener's generation — the Learn button's color names it (yellow, purple, red-orange or green on the LiftMaster/Chamberlain family).
Why won't my garage door opener learn my new remote?
In order of likelihood: the remote is the wrong radio generation for the opener (a 390 MHz remote cannot teach a 315 MHz opener, whatever the packaging implies); the remote's battery is weak enough to light its LED but not to transmit; the wall console's lock mode is engaged, which disables all radio learning; the opener's memory is full of forgotten devices; or — the pattern that matters — no control will learn, which points at the opener's receiver board ($150-$300) rather than at any remote.
How do I erase all remotes and start over?
Hold the Learn button for about six seconds, until its LED goes out. That single hold wipes every remote, keypad, vehicle and app-radio pairing the opener knows. It is the right move after a lost or stolen remote, when you move into a new home, or when a code has been shared too widely. Budget fifteen minutes afterward to re-teach everything you keep — each remote, each car, the keypad with a fresh PIN.
Can I program my car's HomeLink if I don't have a handheld remote?
Usually not directly: HomeLink first learns by copying a working remote's signal, then completes its rolling-code handshake at the opener's Learn button. If the house came with no remotes, the practical first purchase is one universal remote matched to your opener's generation ($25-$60) — teach it, train the car from it, and keep it as the household spare.
How many remotes can a garage door opener remember?
It varies by brand and generation — modern units typically store somewhere between eight and a few dozen devices across remotes, keypads and vehicles, while older units store fewer. The practical symptom of a full memory is distinctive: a new device simply refuses to learn, with no error, while everything already paired keeps working. The cure is the full erase and a fresh teach of only the devices the household actually uses.
Do I need to reprogram my remotes after a power outage?
No. Pairings are stored in memory that survives outages, and a storm that 'unprogrammed' everything is almost never a memory problem — it is usually a surge-damaged logic board announcing itself, especially if the wall button also misbehaves afterward. If a single remote stopped after an outage, suspect its battery or the remote itself before suspecting the opener.
I programmed a new remote and now my old remotes stopped working. What happened?
Almost certainly the Learn button got a long hold instead of a tap at some point in the session: six seconds erases the whole memory, and the 'new' remote you taught afterward is now the only device the opener knows. Nothing is broken. Re-teach the old remotes one by one with single taps of the Learn button — the lesson the whole household learns exactly once.
Related Services
Garage Door Opener Installation
New opener installed and programmed — quiet belt drives, battery backup, smartphone control and wall-mount options.
Learn more about garage door opener installation →Garage Door Opener Repair
Opener hums, clicks or runs but the door won't move? We repair motors, gears, belts, boards and sensors for all major brands.
Learn more about garage door opener repair →Garage Door Repair
Complete diagnosis and repair for doors that won't open, close, balance or seal — most repairs finished in a single visit.
Learn more about garage door repair →← All garage door guides · Costs & pricing hub
Garage Door Stuck? We Can Fix It Today.
Same-day appointments and 24/7 emergency service across all 52 of our service cities. Upfront price before work starts — no surprises on the invoice.
(210) 964-8892 ☎ Call Now — Open 24/7